Discover The Magic Of Snow Casting: Your Winter Art Project Awaits
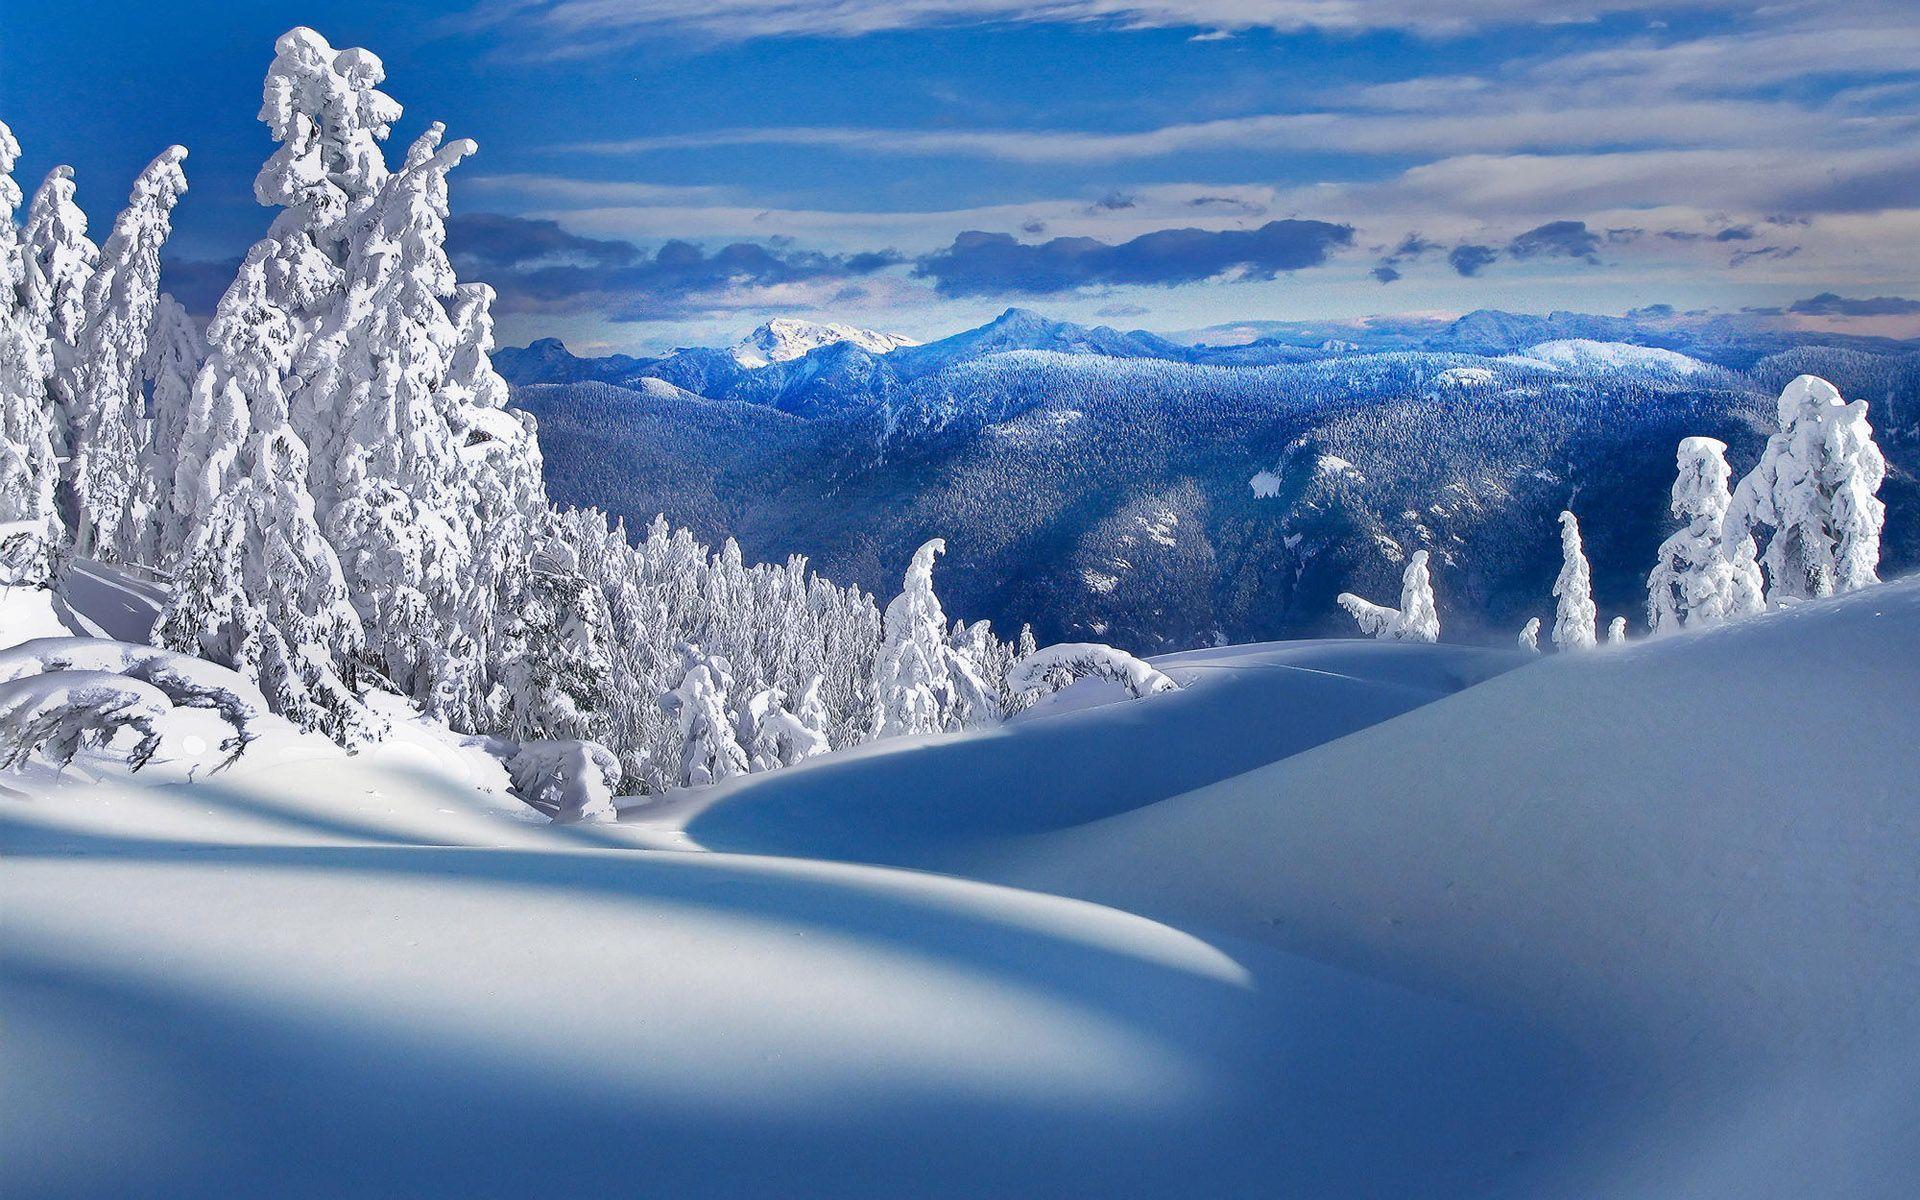
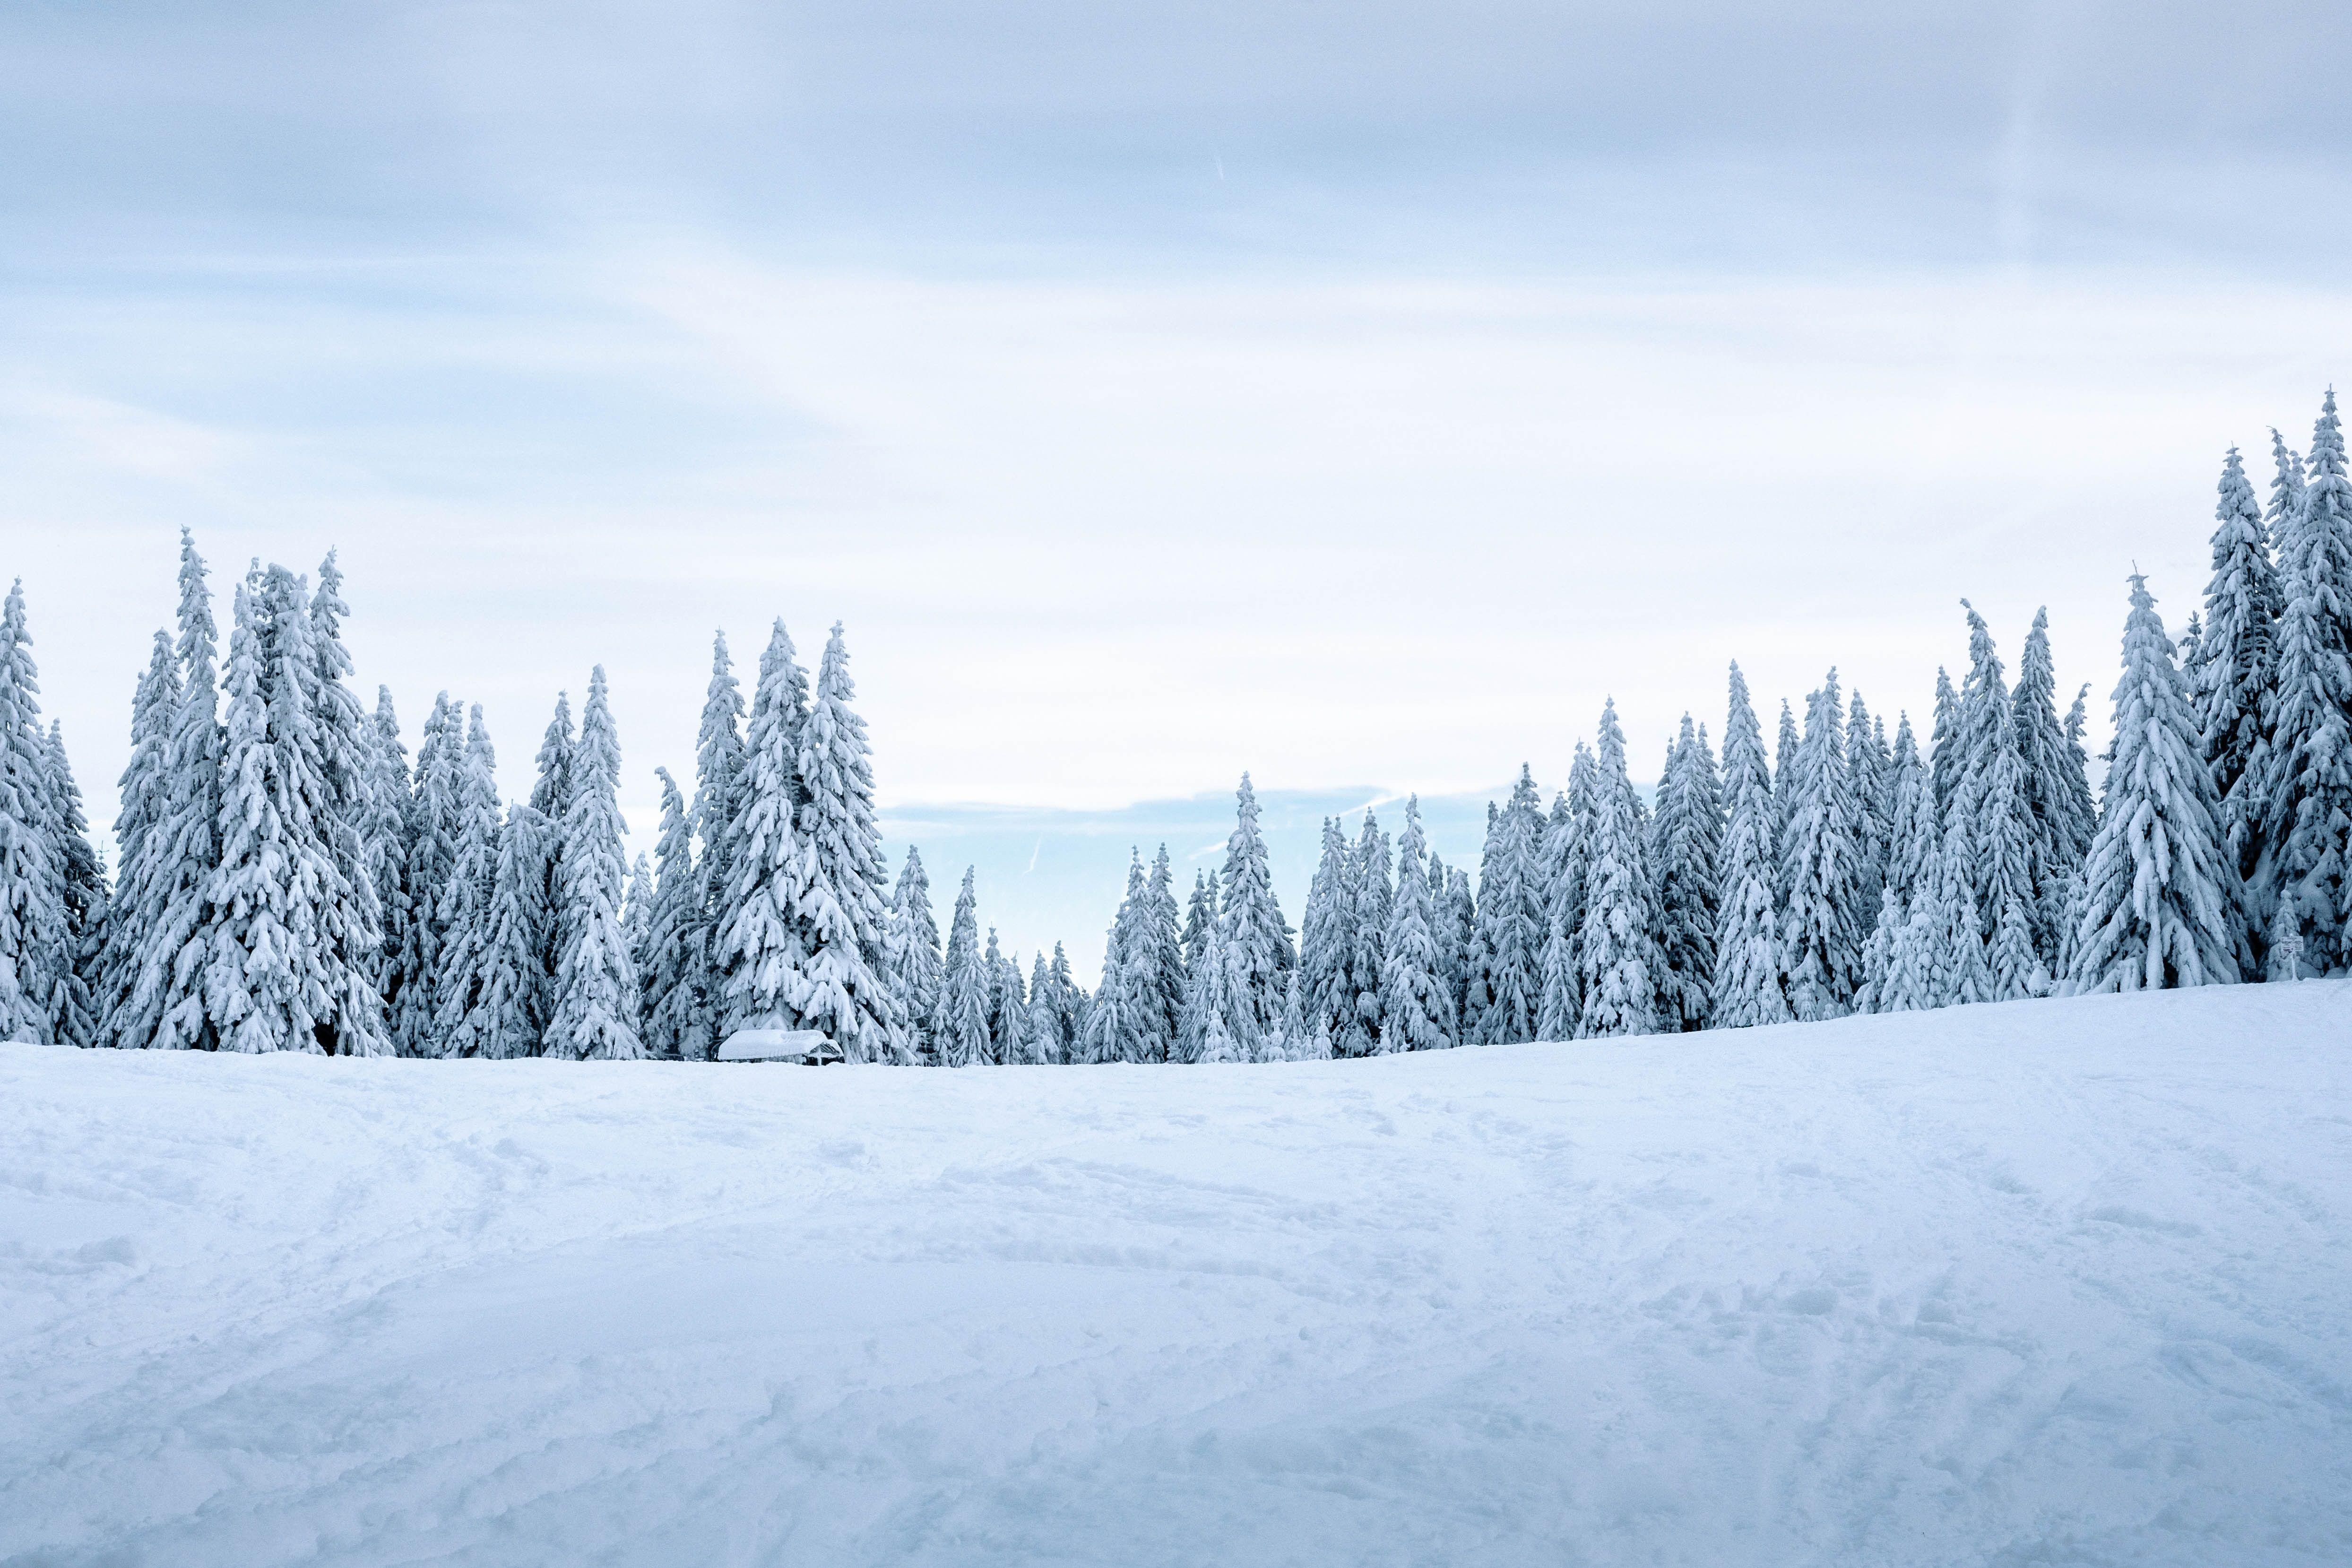
As the chilly air settles and the world outside turns white, a unique opportunity for creative expression arrives. You might find yourself gazing at the freshly fallen snow, a soft blanket covering the landscape, and wonder what possibilities it holds. This natural canvas, made of countless individual ice crystals that grow while suspended in the atmosphere, offers a temporary, yet profoundly beautiful, medium for art. It's a chance to connect with the season in a truly hands-on way, creating something special that honors the fleeting beauty of winter, and it's pretty cool, actually.
Snow casting, a wonderfully simple yet deeply satisfying activity, involves using the ground's accumulated snow to capture the detailed impressions of various objects. Think of it as making a temporary mold or a fleeting sculpture directly from nature's own material. This art form celebrates the very essence of snow, which forms when water vapor freezes, falling as delicate ice crystals from clouds when temperatures drop below freezing and there is enough humidity in the air.
Whether you are a seasoned artist or simply someone looking for a fun, engaging outdoor activity, snow casting provides a refreshing break from screens and a direct connection to the natural world. It's an accessible way to make art, requiring just a few simple items and the perfect snowy conditions, like those moments when snow collects and covers the ground, waiting for your creative touch. So, let's explore how you can bring your artistic ideas to life with this delightful winter pursuit.
Table of Contents
- What Exactly is Snow Casting?
- Why Try Your Hand at Snow Casting?
- Getting Started: Your Snow Casting Toolkit
- The Art of Making a Snow Cast
- Finding the Right Snow
- Preparing Your Object
- The Casting Process
- The Reveal
- Appreciating Your Fleeting Work
- Tips for a Successful Snow Casting Adventure
- Beyond the Basics: Creative Snow Casting Ideas
- Frequently Asked Questions About Snow Casting
What Exactly is Snow Casting?
Snow casting, at its heart, is about capturing a moment. It’s the process of pressing an object into a fresh, soft layer of snow, then carefully removing it to leave behind a perfect, detailed impression. This impression, or "cast," becomes a temporary sculpture, a ghost of the object it once held. It's rather like making a footprint, but with a deliberate artistic purpose, and it's a bit more intricate than just walking.
The magic of this art form comes from the unique properties of snow itself. As "My text" explains, snow consists of individual ice crystals that grow while suspended in the atmosphere and then fall, accumulating on the ground where they undergo further changes. This structure allows snow to hold a shape surprisingly well, especially when it's just the right consistency. It's not just frozen water; it's a complex network of tiny, often hexagonal, ice crystals, making it a surprisingly capable medium for capturing fine details.
The result is a piece of art that exists only for a short time, perhaps until the sun warms the air or another snowfall covers it. This temporary nature is a big part of its charm. It encourages you to appreciate the present, to make something beautiful without the pressure of it lasting forever. It’s a very humble, yet profoundly satisfying, way to make art.
Why Try Your Hand at Snow Casting?
There are many wonderful reasons to give snow casting a try, and it's not just for professional artists. For one thing, it's a fantastic creative outlet during the colder months. When outdoor activities might seem limited, this offers a fresh and engaging way to spend time outside, getting some fresh air and making something with your hands. It’s a bit of a departure from typical indoor hobbies, you know?
It also provides a lovely connection to nature. You're working directly with a natural element, responding to its texture and temperature. This direct interaction with snow, understanding how it behaves and changes, can be quite grounding. It helps you notice the subtle details of your surroundings, from the way light hits the snow to the patterns in a leaf or a pinecone.
For families, snow casting can be a truly memorable activity. It’s something kids of all ages can participate in, fostering imagination and fine motor skills. There’s a real sense of wonder when an object is lifted, and its perfect imprint remains in the snow. It’s a simple joy that can be shared, creating lasting memories of winter fun.
Moreover, it’s an environmentally friendly art form. Since your creations are made from snow, they simply melt away, leaving no trace behind. There's no waste, no need for special disposal, just pure, ephemeral beauty. It’s a refreshing change from art projects that might require lots of materials or create clutter, making it a very appealing choice for those who appreciate sustainability.
Getting Started: Your Snow Casting Toolkit
To begin your snow casting adventure, you don't need a lot of specialized gear. The beauty of this activity is its simplicity. You likely have most of what you need around your home or yard, and that's really convenient.
Here’s a basic list of what you'll want to gather:
Objects to Cast: This is where your imagination gets to play. Think about items with interesting textures or shapes. Natural elements like leaves, pinecones, twigs, or even your own hand can make beautiful impressions. Small toys, cookie cutters, or even a pet's paw print (gently, of course!) can also work wonderfully. The more distinct the texture, the more striking the cast will be, so keep that in mind.
A Spray Bottle with Water: This is your secret weapon, really. A fine mist of water can help compact the snow slightly, making it more receptive to holding a clear impression. It also helps to "freeze" the surface of your cast, making it a bit more durable for a short time.
A Small Shovel or Scoop: Useful for leveling the snow surface or gently clearing an area.
Gloves: Essential for keeping your hands warm and dry while working in the snow. Today's temperature might be nearly the same as yesterday, but cold hands can quickly take the fun out of it.
A Soft Brush (Optional): A small, soft brush can be handy for gently dusting away any loose snow around your cast for a cleaner look.
Molds or Containers (Optional): If you want to create a defined shape for your cast, like a snow tile, you can use a shallow tray or a cookie sheet. This helps contain the snow and gives you a clear boundary for your art.
Gathering these items is the first step towards a fun and creative outdoor experience. It's pretty straightforward, honestly, and you'll be surprised what you can find to use.
The Art of Making a Snow Cast
Once you have your materials ready, the actual process of snow casting is quite intuitive, yet it holds a certain delicate artistry. It's about being gentle and patient with nature's canvas, you know?
Finding the Right Snow
The type of snow you work with matters a lot for a good cast. As "My text" mentions, snow accumulates on the ground and undergoes further changes. Freshly fallen, light, fluffy snow is generally too airy to hold a clear impression. You want snow that is slightly compacted but still soft enough to press into. Think of it like packing a snowball – it needs to stick together. Snow that has been on the ground for a few hours, or even a day, often works best, especially if it's been a bit chilly, like when temperatures drop below freezing. If it's too cold, the snow can be very dry and powdery, making it difficult to get a good impression. A good indicator is if you can easily make a firm snowball; that's probably the right kind of snow for casting.
Preparing Your Object
Before you press your chosen object into the snow, make sure it’s clean and free of any debris that might transfer. If it's a natural object like a leaf, gently wipe away any dirt. For things like toys, a quick rinse might be a good idea. Consider the object's shape and texture. Items with distinct lines, raised patterns, or deep indentations will create the most interesting casts. A flat, smooth object, for example, won't show much detail, so that's a point to consider.
The Casting Process
Clear a Space: Find a flat, undisturbed area of snow. You might need to gently level it with your hand or a small shovel if the surface is uneven. Make sure there are no sticks or rocks underneath.
Compact (Optional but Recommended): For a really crisp cast, you can gently pat down the snow where you plan to place your object. Just a light pat, enough to make it a bit firmer without making it icy.
Spray with Water: Take your spray bottle and give the compacted snow surface a very fine misting of water. This helps the snow crystals bind together more effectively, creating a more stable surface for your impression. It's a subtle step, but it can make a real difference in the clarity of your cast.
Press Your Object: Carefully place your chosen object onto the prepared snow surface. Apply gentle, even pressure. Don't push too hard or too fast, as this can distort the snow. The goal is to press just enough to get a clear impression without going all the way through the snow layer. For delicate items like leaves, you might even place a flat board on top and press that down, spreading the pressure evenly.
Hold Briefly: Hold the object in place for a few seconds. This allows the snow to settle around the contours of the object.
Mist Again (Optional): For extra definition, you can very lightly mist the object while it's still pressed into the snow. This helps to freeze the immediate surface of the impression.
The Reveal: This is the exciting part! Slowly and carefully lift your object straight up from the snow. Try not to wiggle it or drag it, as this can smudge the impression. Take your time with this step; it's quite important for a clean result.
The Reveal
When you lift the object, you'll see its perfect inverse shape, a detailed imprint left behind in the snow. It’s a pretty cool moment, honestly, seeing how the snow has captured every little ridge and curve. The precision can be quite surprising, especially with items that have intricate patterns, like a fern frond or a textured piece of fabric.
Appreciating Your Fleeting Work
Snow casts are, by their very nature, temporary. They are a form of ephemeral art, meant to be enjoyed in the moment. The sun, even on a cold day, can gradually melt them, or another snowfall might cover them up. This impermanence is part of their beauty, reminding us to appreciate the present and the fleeting nature of things. You can take photos of your creations to preserve them digitally, but the physical experience is what it's all about. Just know that they won't last forever, and that's perfectly fine.
Tips for a Successful Snow Casting Adventure
To make your snow casting experience as enjoyable and successful as possible, a few pointers can really help. It's not just about pressing things into snow; there's a bit of finesse involved, you know?
Mind the Temperature: The ideal temperature for snow casting is just around or slightly below freezing. If it’s too cold, like when temperatures drop well below freezing, the snow can be very dry and powdery, making it hard to get a clear impression. If it’s too warm, the snow will be too wet and slushy, and your cast might collapse or melt too quickly. Live weather reports from places like Palembang weather stations, or even your local forecast, can help you pick the perfect day.
Experiment with Objects: Don't be afraid to try many different things. A textured rock, a piece of lace, a key, or even a simple piece of corrugated cardboard can yield surprisingly interesting results. The more you experiment, the more you'll discover what works best and what kind of patterns the snow can capture.
Consider the Snow Depth: Make sure you have enough snow depth to get a full impression of your object without hitting the ground underneath. This map that displays current snow depth according to the National Oceanic and Atmospheric Administration (NOAA) National Snow Analyses (NSA) can be a helpful guide, though you'll mostly rely on what you see in your own yard.
Work Quickly (but Carefully): While you want to be precise, try to work at a steady pace. The snow's consistency can change as you handle it or as it's exposed to the air.
Light and Photography: Once you've made your cast, take a moment to admire it. The way the light hits the impression can create beautiful shadows and highlights. This is a great time to take photos, especially if the sun is out, to capture the details before they fade.
Dress for the Weather: Since you'll be outside, make sure you're dressed warmly. Layers are always a good idea, and waterproof gloves are a must. Staying comfortable will allow you to enjoy the process much more.
Clean Up: There’s very little to clean up with snow casting, which is a big plus. Just gather your tools and leave your beautiful, temporary art for nature to reclaim.
Beyond the Basics: Creative Snow Casting Ideas
Once you get the hang of basic snow casting, you might find yourself wanting to try more creative approaches. There's a lot you can do to expand on this simple idea, and it's really quite fun to push the boundaries a bit.
Using Natural Elements: Go on a nature walk and collect interesting leaves, twigs, feathers, or even animal tracks (if you find fresh ones!). These natural items create truly organic and unique casts that celebrate the local environment. You could even try casting the impression of a bird's wing if you're quick enough to catch a fresh landing mark.
Adding Color: For a vibrant twist, you can gently sprinkle food coloring mixed with water onto your snow cast. Use a spray bottle for a fine mist or a dropper for more precise application. This can bring a whole new dimension to your temporary sculptures, making them pop against the white snow.
Creating a Series or Story: Instead of just one cast, create a sequence of casts that tell a small story or show a progression. For example, you could cast different sizes of the same object, or arrange various items to form a scene. This turns individual casts into a larger, more thoughtful piece of art.
Large-Scale Projects: If you have a large area of snow, consider making bigger casts using larger objects or even your own body parts (like hands or feet). You could also create a mosaic of smaller casts across a wide expanse, making a temporary art installation in your yard.
Casting with Light: For a truly magical effect, try placing small LED tea lights or fairy lights around or within your snow casts at dusk. The light will illuminate the textures and shapes, creating a beautiful glow that transforms the art piece as night falls.
Themed Casts: Think about a theme for your casting session. Maybe it's "forest floor" with leaves and acorns, or "kitchen fun" with cookie cutters and utensils. A theme can help guide your object selection and make the activity even more engaging.
Mixing Materials: While the cast itself is snow, you can experiment with adding other temporary natural elements to the impression after it's made. Small pebbles, colorful berries, or even a sprinkle of birdseed can add texture and interest to your finished snow art.
These ideas are just a starting point, of course. The real joy comes from seeing what unique creations you can dream up with the snow that surrounds you. It's a very open-ended activity, allowing for lots of personal expression.
Frequently Asked Questions About Snow Casting
People often have a few questions when they first hear about snow casting. Here are some common ones, with some simple answers to help you get started, and they're pretty straightforward, actually.
What materials do you need for snow casting?
You mostly need objects with interesting textures to press into the snow. Things like leaves, pinecones, small toys, or even your hand work well. A spray bottle with water helps to set the impression, and gloves keep your hands warm. That's pretty much it, honestly.
How long does a snow cast last?
Snow casts are temporary art. Their lifespan depends on the weather conditions. If temperatures stay below freezing and there's no new snowfall, they might last for several hours or even a day or two. A sunny day or rising temperatures will cause them to melt away more quickly.
Is snow casting difficult for beginners?
Not at all! Snow casting is a very beginner-friendly activity. The main challenge is finding the right kind of snow – not too powdery, not too slushy. Once you have that, the process is quite simple and very forgiving. It’s a great way to start making outdoor art without needing any prior experience.
To learn more about the fascinating properties of snow and ice, you might find some interesting information on the National Snow and Ice Data Center website. Also, you can learn more about winter outdoor activities on our site, and perhaps discover other creative ways to enjoy the colder months by checking out our guide to seasonal crafts.
So, as winter continues to bring its unique beauty, why not step outside and give snow casting a try? It's a chance to make something beautiful, connect with nature, and enjoy the simple pleasures of the season. It’s a very rewarding experience, truly, and you might just find a new favorite winter pastime.
Wallpapers Snow - Wallpaper Cave
Winter Snow Landscape Wallpapers - Top Free Winter Snow Landscape

landscape, Winter, Snow, Mountain, Trees, Sky, Cabin Wallpapers HD
